
The other benefit of these labors is I am learning. Learning real-time, even at the risk of doing it "wrong." I like to call tearing into a car the "school of hard knocks"...literal hard knocks! I am learning, tuning, even kind of perfecting, if I dare say, this craft. It actually does improve with time, too.
Next chance I get, I'll brush some toxic slime on an area not yet stripped and start massaging sheet metal as I wait for the slime to do its job. And I will do so with patience, knowing I am making progress on the car and my skills at the same time.
 Speaking of toxic slime, I've managed to remove the paint and filler from almost all of the driver side. I use Aircraft Stripper, and it works good.
 I am beginning to bump metal here on a spot at the edge of the hood. It is harder than I thought, yet already very rewarding. I'm finally learning to do it correctly. I also am learning to stop when I've reached a good point, instead of bumping too much and making things worse.
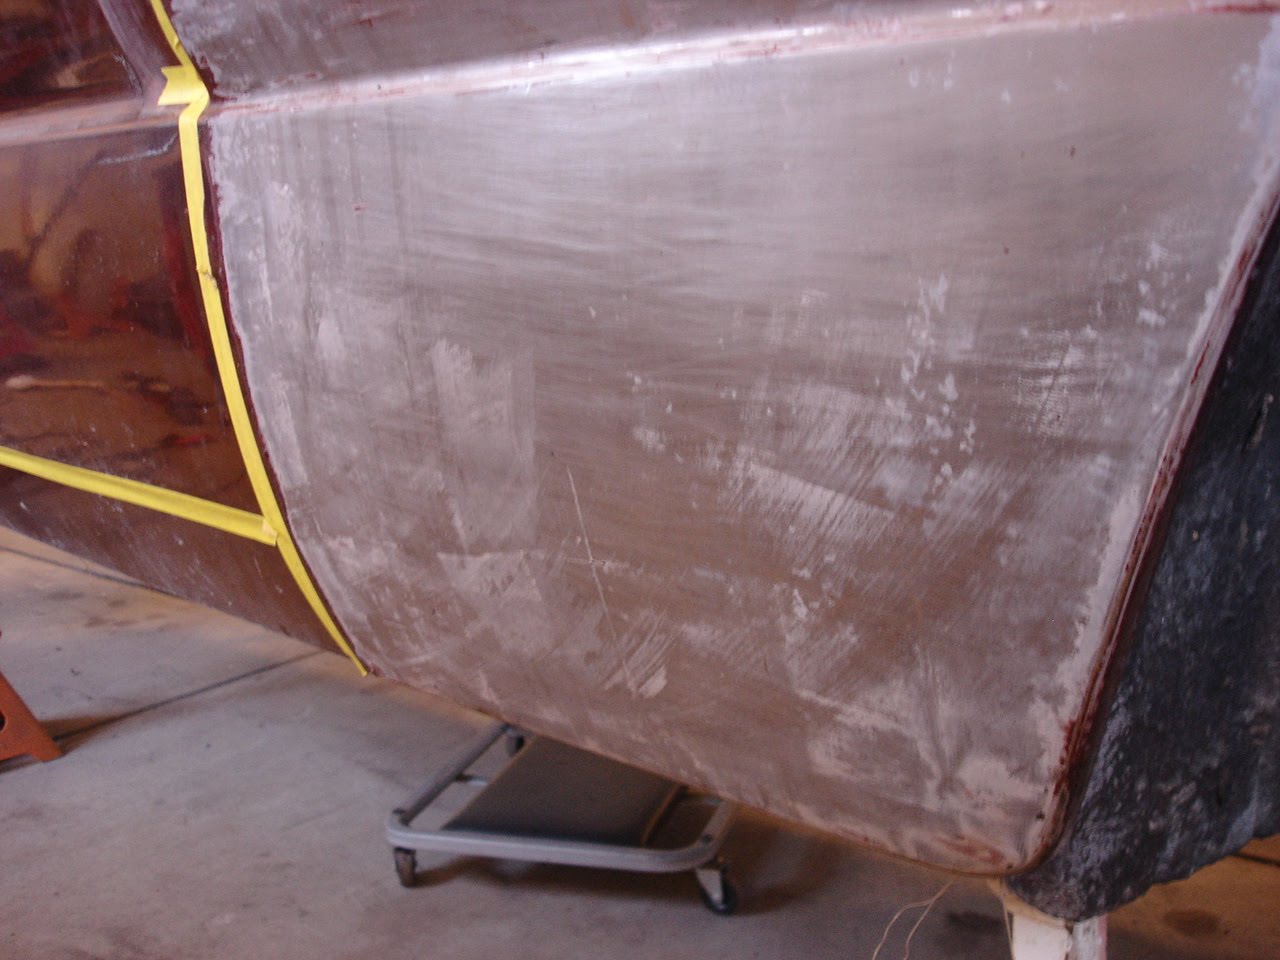 This above picture is a happy one. I have just finished stripping all paint and primer from this lower portion of the passenger fender and it is smooth! Clean! No dents or rust! This is what we hope to find everywhere, but never do.
 Here I have just masked the trim holes and door edges to protect from stripper seeping into places I don't want it. It is VERY powerful stuff (and dangerous, too) so I keep it from getting anywhere other than the major outside areas. At the rear 1/3 of the door's center is a spot I've bumped back into place. This area was bent inward right along the trim line, and required careful hammer-off-dolly to bring the steel back to proper contour. It is not perfect, but an exciting improvement!
 Just a full shot of the hood, stripping and light bumping of small, shallow dents being completed. Now I have small surface rust spots to remove and final sanding. Then it will be ready for spot filler (if it actually needs any) and primer.
 This above shot is a close up of the passenger door area that was banged inward. It came out better than I expected.
 This last picture shows an area that began as a frustrating find. I was simply removing what appeared to be light filler when resorted to using my propane torch to soften and remove a deep chunk of Bondo in both areas. The car had been banged here, and the previous bodyman had used a slide hammer to attempt to pull it out. The screw holes where the slide hammer attaches were still there, only filled with the Bondo. And the dents hadn't been pulled much at all. There was still a depth of about 3/8" at the deepest point of these dents that the plastic filler had been used to cover. (Why even use the slide hammer if one isn't going to pull the dent out much at all?)
Anyway, I ended up pulling the panel out farther with my slide hammer and welding up the holes. The bottom area I bumped extensively with the hammer and dolly, but was still too warped and stretched for me to leave. So I cut the spot out, remade an inside wheel well lip (patch) and welded in a new piece. Whew!
No comments:
Post a Comment